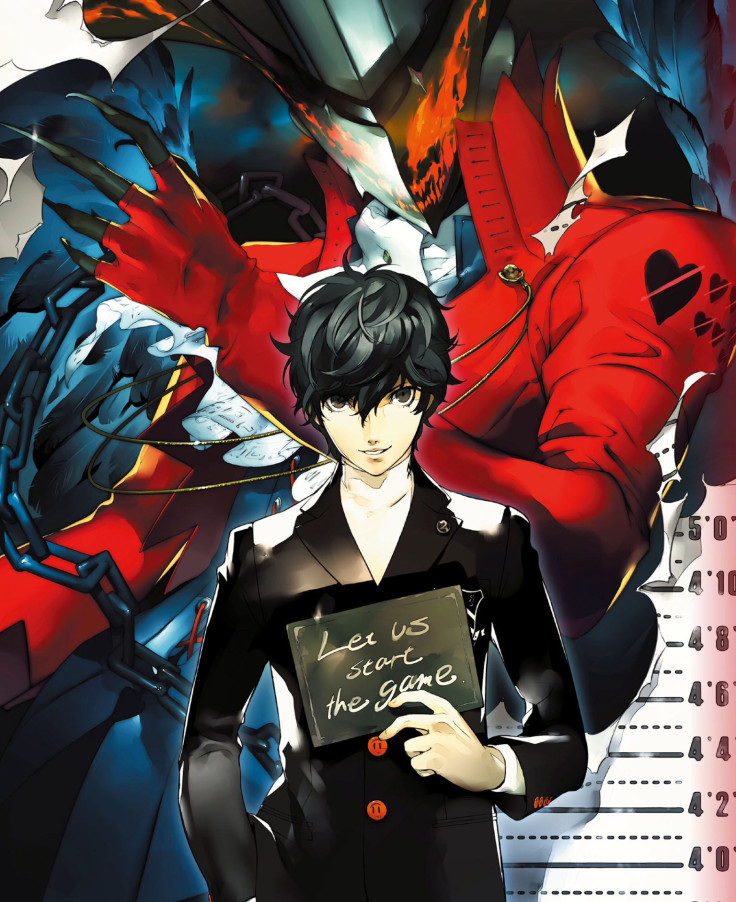
Persona 5’s Palaces are intricately detailed, full of shadows to fight, puzzles to solve and treasures to harvest. They’re also intimately tied into the game’s main storyline, and we don’t want to spoil the plot for anyone. We’ve put together a list of need-to-know, basic tips to help keep you alive and kicking in P5’s challenging dungeons. Wondering when to send a calling card? How to restore SP? When to upgrade Personas? We’ve got you covered.
Saving and Fast Travel in Palaces
- There is no autosave function in Persona 5; you will be sent back to your last Safe Room if you get a Game Over.
- You can auto-travel to previously visited areas in Safe Rooms by pressing R1 and scrolling through the various pages of the map. You can also return to the entrance, use the Velvet Room, then resume your Palace run if necessary.
- Err on the side of caution when it comes to Safe Rooms and backtracking. If you feel like you should save, do it. Sometimes it’ll turn out there was a new Safe Room just ahead anyway, but you’re better safe than sorry.
Surviving Persona 5’s Palaces
- Keep an eye on your SP, especially the protagonist’s. It’s very easy to blow through all of your magic straight away in early dungeons. Learn to depend on your allies to pull their weight and use baton pass when necessary.
- It’s easier to restore HP than SP, especially once you have access to Dia spells. Don’t be afraid of taking a few shots if you can save a significant amount of SP.
- There are few game options for recovering SP. Two varieties of soda (Arginade and Water of Rebirth) will restore 5 SP each and are worth hoarding. They’re sold at the vending machine near the baths in Yongen-Jaya (100 yen, infrequently stocked), or in the arcade vending machine in Shibuya (300 yen, more frequently stocked). Making coffee at Leblanc will also give you an item that restores 30 SP.
- Even if you’re backtracking through an area you’ve already cleared, keep an eye on the mini-map and use cover points. Sometimes, depending on how far you’ve progressed through a Palace, enemies will reappear in areas you’ve cleaned out. Don’t be caught off guard!
- Once you have more than four party members, you can use reserve teammates’ healing magic (if any) on active party members. This is a great way to preserve SP.
- Use your Third Eye (R1) often. You’ll find treasures hidden in plain sight, new potential routes to progress through the palace and opportunities for cover. It’s also the first thing you should do when stuck with a puzzle you can’t figure out.
- Occasionally, you’ll come across Treasure Shadows, which appear as large reddish gems that bounce out of breakable objects. Beat these guys quickly in order to snag a large amount of cash and experience. (They’re usually resistant to every attack / magic type but one.) Or you can attempt a Negotiation; you can’t use them in combat directly, but you can use them in Fusion to create certain rare Personas.
Planning Ahead Is Key For Palace Runs
- Going to a Palace (or Momentos) will prevent you from doing after-school and evening activities (like Confidant Links). This means you don’t want to go every day and just do a single floor at a time. Push yourself to get as far as you can each time and share the SP burden between your party members. It’s a good rule of thumb to plan for two to three trips for each Palace.
- Between Palace trips, make sure to upgrade Personas and equipment, as well as restock healing items. You don’t need to do a complete overhaul every time, but if someone needs an armor upgrade or you find yourself lacking a particular variety of magic, address the issue before taking on the second half of a Palace.
- Between Palace trips is also a good time to make some lockpicks in your room, if there are locked chests you missed out on. You’ll want to make sure you have a couple lockpicks for each dungeon run, even if it means waiting an extra day.
- In previous Persona games, enemy drop items and random finds were used for random NPC requests, and therefore worth holding onto. This is NOT the case in Persona 5. Any item in your inventory classified as Treasure, with a gold bar icon to the left of it, is just waiting to be sold for cold, hard cash. Do not let this lovely plunder sit in your inventory collecting dust while you struggle to fight with weak equipment! Sell it all off as you collect it and use the proceeds to upgrade your weapons and armor.
- Defeating the main boss for each Palace is usually a separate trip made after reaching the treasure and sending a calling card. So if you know you’re nearing the treasure room / end of the Palace and encounter some sub-bosses, don’t be afraid of using up your SP.
- After you send a calling card, you will fight the Palace boss the following day. You will be able to retrieve any locked chests you may have missed on previous runs right before taking on the boss (you may have to fight some regular enemies), but not after. After you defeat the boss, the Palace will no longer be accessible.
How are you enjoying the Palaces of Persona 5 ? Any other important tips we neglected to mention? Let us know in the comments!
REVIEW SUMMARY
Persona 5
10.0
A Golden-Age JRPG For The Modern Era
Persona 5 brings the franchise’s hallmarks -- deep turn-based combat, Pokémon-esque monster crafting and Japanese high school life -- into the modern console era with impeccable panache.
- Gripping, twisty-turny story
- Collect all the waifus!
- Rapid-fire turn-based combat
- Infectious soundtrack
- Literally everything
- A cat making you go to bed when you're not tired
- Say goodbye to your actual life


