
Operation Dark Divide brings the "Heroes and Villains" theme to Call Of Duty: Black Ops 4. Last time we looked at the Lair map, because what villain doesn't have one? This time we look into its second map dubbed Launch. This is a medium-sized map where players need to play fast, as a missile has been locked, loaded, and then is launched in the middle of the match.
In today's guide we look at the new map a little closer and how you can blast away at your opponents.
Background
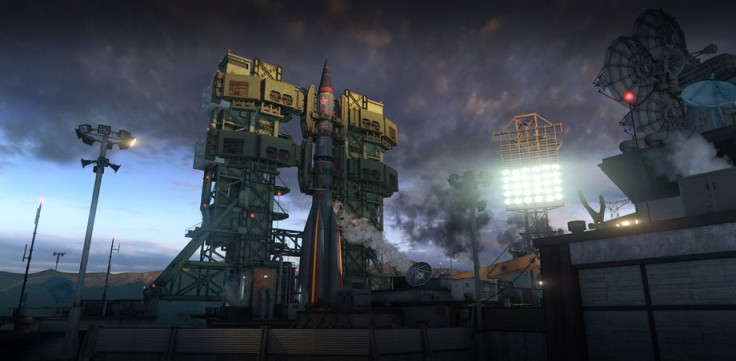
The map brings you on the ground of a Soviet cosmodrome. Teams spawn at either the western security checkpoint or the eastern one. The good news, or bad depending on how you look at it, is that all roads lead to the missile.
The launch sequence takes place during the match and starts with the missiles being transported to the launch pad. It is then set upright through multiple tracked missile cars. Once the missile is on the launch pad, it is held in place over the rocket silo. Players in the area when the missile launches are sure to face some fatal consequences. After that, the missile is launched to parts unknown.
General Strategy
If you've played this map back in the original Black Ops, you'll notice that the distinct areas are still there and continue to allow room for varying degrees of playstyles. The only difference is that the map is now covered in twilight. There is also another difference, which is that the map is geared towards Specialists
The rocket silo is positioned on the northern path, which gives players a unique lane across the map. With the path being underground, it is the least exposed. However, that doesn't mean you should relax. Once at the missile itself, there are two winding staircases on both sides. here you could hold any attackers and with the open roof, can ensure that you take out anyone below.
Given the tight spaces in this area, players should make sure to have close range weapons in order to make the most out of the area. Specialists could consider Ruin’s Grapple Gun in order to go from staircase to staircase or even Grav Slam to the pad. Recon can help provide the needed cover for the launch pad with the Recon Dart. The Reaper can do the same with the Shroud Specialist equipment.
On the outside, you need to go through a tight alley between buildings when trying to get to the center. Close-rage gunfights are the norm here so be sure to be ready.
Once you reach the map center, you will see two converging paths that have been made more dynamic through multiple environmental cover pieces. There are also two power positions on the south side along with a missile car which players can mantle in order to get the needed elevation against opponents. In this case, you have the option to use medium to longer-ranged weapons. Make the most out of this area with weaponry and equipment like Prophet's Tempest, Outrider's Sparrow, and Seraph's Annihilator.
As mentioned, most of the map limits your movement. Torque is a good option here with his Razor Wire or Barricade. Nomad can also take advantage of this area with the Mesh Mine.
Remember: positioning is key on this map. Be sure to practice with close-range weapons as well to make the most out of the map.


