
Resident Evil 7 biohazard is full of secrets, including three mysterious photos that’ll lead players to the coveted Repair Kit to fix your weapons. There are only two Repair Kits in Resident Evil 7, so it’s worth taking the time to search for these mementos. Here’s where to find all three Treasure Photos.
Pro tip: If you’re having difficulty spotting items in Resident Evil 7 biohazard, try turning up the brightness. We’ll admit it makes the game less scary, but better lighting will help when you’re stumped on a puzzle.
Also, each photo contains a puzzle in itself. You don’t need to get the items in the photos to obtain the Repair Kit, but you might as well hoard items for your stash. You never know what might be useful in Resident Evil 7.
Treasure Photo #1
This Treasure Photo should be the easiest to spot out of the thre,e and you might’ve already encountered it when you went looking for the Scorpion Key. First, head to the basement of the Main House. Once you’re there, go to the processing area and search the room for a metal shelf, which should be in a corner of the room. The Treasure Photo should be on that shelf.
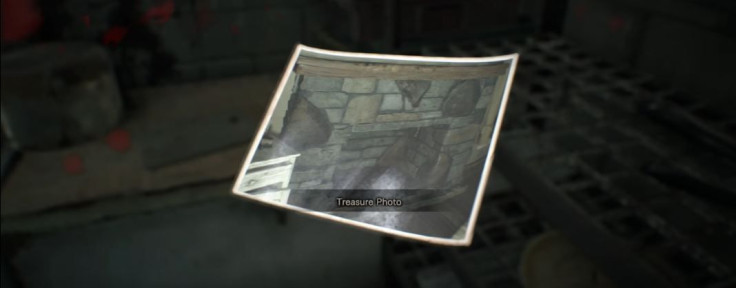
The photo itself is of a fireplace located in the Drawing Room in the Main House. If you head to that area, you’ll find some steroids hiding in the fireplace. Grab them if you’d like,
Treasure Photo #2
We’ve got some bad news about Treasure Photo #2. Unfortunately, you’ll have to try and spot this photo while fighting off Marguerite in the Old House. Sorry guys!
If you haven’t dealt with Marguerite yet, her boss fight takes place in parts. The first involves Marguerite chasing you with a lantern as she basically vomits up bugs. Run away from Marguerite and head upstairs in the Old House. This will give Marguerite time to transform into a the nastiest spider you’ve ever seen. In order to progress the fight, you’ll have to follow Spider-Woman into a tunnel and hope she doesn’t kill you.
Following Marguerite leads you to the Greenhouse area. In between the Tunnel and the Greenhouse is a staircase. The second Treasure photo should be sticking out of the staircase. Thankfully, the photo puzzle itself is pretty straight forward. This photo directs you to the Yard through a gate that’s close to the greenhouse. In the yard you'll find Zoe’s camper. Go inside the camper and look in the toilet to find Magnum Ammo.
Treasure Photo #3
If you’ve made it past Spider-Woman, you should be fine to get the final Treasure Photo. You need ALL three Treasure Photos to solve the Repair Kit puzzle, so be sure not to miss this one. Before you can pick up the third photo, you’ll need to get the Snake Key.
To find the Snake Key, you’ll need to head to the Dissection Room and find “the pig,” a.k.a the dumbass Deputy who gave you the switchblade in the beginning of the game prior to your fight with Mr. Baker in the garage. The key is in the Deputy’s throat. Take the key and head over to the second floor of the Main House.
The Snake Key will unlock the Master Bedroom. Look for the door that leads to a storage room. When you’re inside the storage room, look for a red stool. The final Treasure Photo should be sitting on top of the stool.
The final Treasure photo will take you back to the Testing Area you passed through shortly after you killed Spider-Woman. Search the room for two keycards that’ll open a fourth room in the area. In this room you’ll see a cage with a mannequin head, you can’t miss it. Inside the head is the Repair Kit.
---
You can use this Repair Kit to fix the broken shotgun you likely found early on in the game. If you’re not sure what we’re referring to, click here for a guide on where to find this shotgun. Have any tips for playing through Resident Evil 7? Let us know in the comments below.


