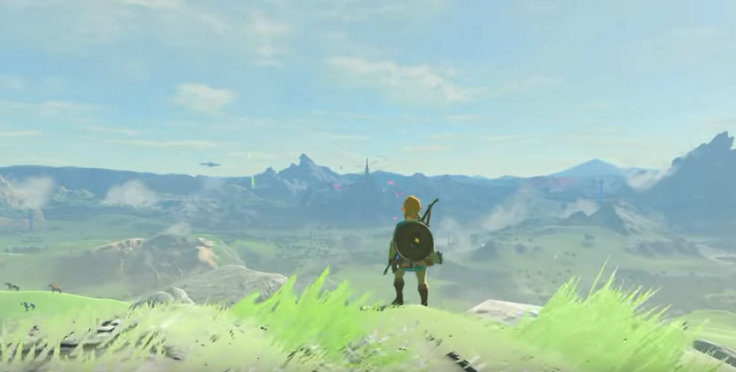
The world map in 'Breath of the Wild' is huuuugeNintendo
Legend of Zelda: Breath of the Wild is a huge, sprawling, amazing game about many different things. It’s a high adventure, a game about exploration, a puzzle game and a survival game. It’s also the closest game Nintendo has made to Pokémon Snap in many years. Breath of the Wild can bring out your amateur photographer in the best way possible. There are real gameplay benefits to mastering your Camera in Breath of the Wild—and there’s also a lot of sheer satisfaction to be had. Mild to modest spoilers about the Camera’s functionality follow.
How To Get The Most Out Of The Camera In Legend of Zelda: Breath of the Wild
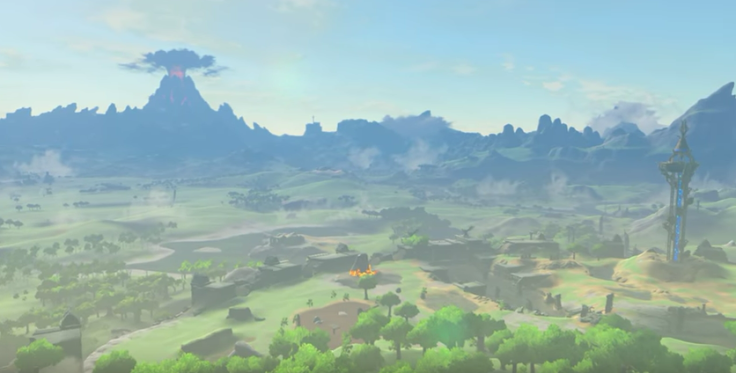
The scope of 'Breath of the Wild' is larger than you ever imagined. Nintendo
Why To Take Pictures
The Sheikah Slate in Breath of the Wild has six core rune functions, and the Camera is actually the last of them you unlock. Mild spoilers start now. You first unlock the Camera function in the Hateno Ancient Tech Lab outside Hateno village, and initially it mostly seems like a novelty. The Camera lets you take pictures of basically any object in the game—creatures, monsters, crafting ingredients, weapons and some kinds of treasure—and record them in the Hyrule Compendium, a visual encyclopedia. To the completionist, this is immediately appealing. But there’s a lot of value in the Compendium even if you don’t care about chasing down every herb or butterfly in the game.
First off, modest spoiler time: The Camera is more than it seems. Once you upgrade your Sheikah Sensor to the Sheikah Sensor+ in the Hateno Ancient Tech Lab for the low low price of three ancient screws, the Camera takes on a hugely important new role. You can use the Sheikah Sensor + to track the locations of anything in the Compendium—monsters, weapons, herbs, treasure, creatures—in a similar way to tracking shrines: the sensor will beep when you’re approaching what you’re tracking. The key is, you have to already have a picture of that object in the Hyrule Compendium. Find a super rare stone or frog and need to get more? Take a picture of it, track it, and the Sheikah Sensor + will lead you right to it.
That’s why it’s important to take pictures of everything you can as soon as you get the Camera. It will let you easily track things later. Also, everything logged in the Compendium gives you useful information—a general idea of areas where item or creature appears, what it drops, and other salient info. It’s a handy reference when you’re hunting down crafting materials.
Taking Good Pictures And Filling Out Your Compendium
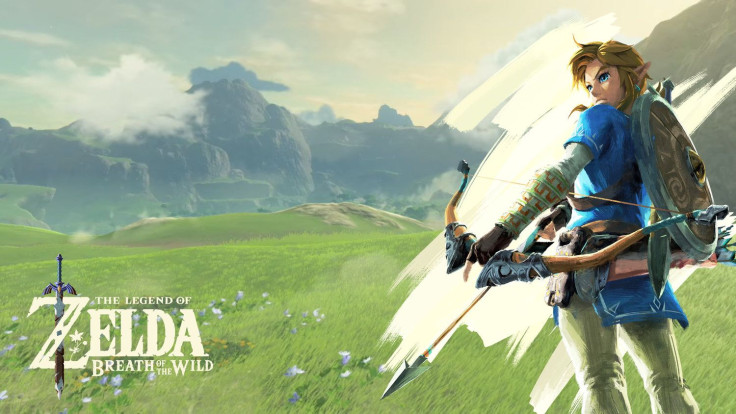
Legend of Zelda: Breath of the Wild.(c) Nintendo
Filling out the Hyrule Compendium doesn’t require you to take good pictures—and many of the pictures you take, especially of dangerous monsters, probably won’t be so hot. That’s okay: It’s worthwhile to take pictures just to log something in the Compendium. First tip: You can take pictures of something you’ve already logged, and if the new picture is better, you can replace the old one in the Compendium. So don’t worry about taking ugly pictures when a quick temporary one will do.
Herbs and rocks and such things are easy to take pictures of, and you don’t even have to remember to do it when you gather them. If you want to track hearty radishes because you can’t find any in the wild, but have one in your inventory from earlier in the game, you can drop it on the ground, take a picture of it, and then proceed to track it. It’s a little harder for moving items like frogs and bugs, but if you forgot to take a picture of it in the wild, just find an enclosed room somewhere and drop away.
There are two ways to approach taking photos of creatures and monsters: The workmanlike route, where you just try to get the darn thing in your Compendium however you can, and the artistic route, where you play Pokémon Snap a la Zelda and try to get the best pictures you can. Of course, you can take both approaches.
Becoming A Great Photographer
Pokémon Snap sold a million copies way back then. It would probably do pretty well on Wii U Virtual Console too. (Image: The Pokémon Company)
Simply getting pictures of enemies and creatures isn’t too bad. First off, you can walk around while the Camera rune is active, which is a big help. In Camera mode, you need to get close enough to your target so that the orange question mark block around it turns into a larger orange square indicating the name of the target. If you can snap a picture while that square is active, you can save the picture and log the object in your Compendium. For many monsters and for almost all creatures, keeping your distance is safe enough. Even zoomed in, the picture won’t be very good, but you’ll get it. More dangerous monsters with area-of-effect attacks (or ones way more powerful than you, like Guardians early on) are best approached indirectly. Try to sneak up behind them, take pictures of them from the back or the side, or snap while they’re sleeping or simply far away. It’s not pretty, but it works and gets you valuable information.
Taking good pictures is a whole other matter—and it’s one area where Breath of the Wild really shines. A photo that really captures the essence and soul of a creature or monster takes a little bit more work, care and (sometimes literal) pain (for Link, anyway). It’s easy to take a picture of a heron, but catching a heron just as it takes off for flight requires some very good sneaking skills, and quick reflexes. A flock of Keese can easily be shot at a distance, but your photo will be a whole lot prettier if you wait until the flock is bearing down on you head-on, moments from hitting you, before taking the shot. And every time you look at the Compendium again, you’ll see that great picture.
When taking good pictures, bear in mind that the viewfinder in the Camera isn’t actually what goes in the Compendium. Only the square around an object gets recorded; it’s a cropped thumbnail. Line up your subject within that square and you’ll be good to go; otherwise, parts will be cut off. And accept that getting good pictures of monsters is often going to involve some pain. The coolest shots often come when something is charging you down, or launching an attack from close range right at your face. You’ll need quick reflexes to get the shot, and you’ll probably only have one chance. You’ll need even quicker reflexes to get out of the way after, and sometimes you simply won’t be able to. If you’re getting involved in action photography, I suggest bringing Fairies, just in case you get hit a little harder than expected.
Or you can just take pictures of beautiful landscapes. There’s no shortage of those in Legend of Zelda: Breath of the Wild, and they don’t hit back. But really, play around with your Camera. There are a world of ways to capture the beauty of the game… and if you really get into it, it actually does feel a lot like Pokémon Snap come again.
Get the latest "Bees Roblox" codes for free coins, potions, and spins. Learn how to redeem rewards and boost your gameplay fast to start your bee hunting.
Learn "Code Vein 2" Blood Codes, weapon types, beginner builds, and first‑run-friendly combos to create forgiving starter setups and smoothly clear your first playthrough.