

Fallout 4’s settlements are a part of the game that promise to provide a sink for money, loot and resources for a long, long time. Fallout 4 throws a number of settlements at you almost immediately, but some are more promising and satisfying than others. Here’s a few options for how to make the most of Fallout 4’s best settlements, as well as tips and tricks for making the best out of the worst. Plus, want to know how to construct the most magnificent slums this side of the Wasteland? Interested in palatial shack construction for your haggard settlers? We’ve got you.
Fallout 4 Settlement Guide: Construction Basics
The most important tools you will need to construct shacks are the following:
- Floors: Your basic floor, Shack Floor, is found in Structures > Wood > Floors. You’ll need this for any type of shack, wood or metal.
- Walls: Walls come in two flavors, “Wood” and “Metal.” Your basic Shack Wall will snap to any floor you place, internal or external.
- Doorways: There are special Shack Doorway pieces (Structures > Wood/Metal > Walls) you’ll need if you want to place a door to your shack rather than leaving it open to the empty air (also an aesthetically pleasing option, but inadvisable on upper stories, as your idiot settlers will plummet to their deaths). The door will snap right into the empty place.
- Roofs: There’s a wide variety of wood roofs under Structures > Wood > Roofs; not so much for metal under. They’ll snap to even one wall.
While the game will permit you to place walls without a floor, I strongly recommend placing a floor first (or a foundation if you’re working on uneven ground). The floor gives your walls something to snap around; otherwise, they will snap in a straight line into eternity.
While the game also does not prevent you from mixing wood and metal shack pieces, I suggest you stick to either wood or metal per shack. Many of the metal shack wall pieces have cool atomicpunk circular bits that will not mesh well with the right angles of the wooden pieces.
With the pieces above you can build a simple enough little hut. Add in a bed, a rug, a chair, a light, and a portrait of a darling kitten, and any Wastelander would be proud to call it home.
Construction Intermediates
- Shack Wall And Roof: Under Structures > Wood/Metal > Walls, there are pieces called “Shack Wall and Roof” with small strips of floor which provide for balconies on upper levels and let in more natural light overall (since there are no window options). These snap to the floor just like walls.
- Wall: You’ll notice that some pieces called “Wall” actually have a small strip of extra floor space, and though they’re called “Wall,” after you build them they’re called “Shack Wall and Roof.” These provide the same function of aesthetic variety as the ones titled Shack Wall and Roof above.
- Wall - Corner: These pieces are for use with Shack Wall and Roof only . They will not snap into place next to each other, next to a blank floor, or next to a wall piece. As you’ll notice, if you snap four of the Shack Wall and Roof pieces around a square of floor, you are left with four missing corners, and these corner pieces fill in those gaps. The Wall - Corner pieces range from one wall to a fully-walled corner piece. If you want the corner to be fully walled, you have two options: you either use the fully-walled corner piece, or you use the Wall - End piece to fill in the wall.
- Wall - End: Used to fill in the walls of Wall - Corner. But beware - it will not always snap into place. It will often only snap on one side of Wall - Corner, leaving the other side open. This doesn’t seem to make much difference to settlers, but if it bothers you, opt for the fully-walled Wall - Corner piece.
- Wall and Roof: Found under Structures > Wood > Prefabs, these are like the Shack Wall and Roof pieces, but instead of a strip of Small Floor squares, it comes with a full-sized floor square.
Doorways will not snap into place between Wall - Corner pieces, but will snap into place against floors. Use the Floor - Small pieces to fill in the space between corners if you don’t want a sunken entrance.
However, if you plan to place a Wall - End piece into your Shack Corner piece, place it first, and then place your Doorway , otherwise your Doorway won’t snap into place.
A note: If you place Wall and Roof (with the full-sized floor), and then place Shack Wall and Roof (with the small strip of floor) next to it, you can either use Wall - End to fill in the gap, or place a Wall Corner piece next to the Shack Wall and Roof . Beware of which Wall Corner piece you use, as it can be tricky to place the Wall - End piece on them to fill in the gap.
Fallout 4 Settlement Guide: Construction Advanced
You can build as high as the sky if you want to. You’ll need:
- Shack Stairwell: Found in Structures > Wood > Floors. I strongly advise the use of this over the Shack Stairs found in Structures > Wood > Stairs, because effectively using Shack Stairs will mean being very fastidious about the use of the Floor - Small pieces so that your walls all line up neatly with one another. Note that Wall - End will not snap into place next to anything but the correct Wall - Corner piece, properly rotated.
- Shack Upper Floor or Shack Floor: Found in Structures > Wood Floors. The Shack Upper Floor will snap into place right next to the Shack Stairwell, but so will the normal Shack Floor piece, so it’s up to you.
You can build the upper floor as far out as you want without needing columns like you would in The Sims. Your shack will look funny with that giant overhang, but nothing is stopping you. And you can build pretty much as far up as you have materials, which comes in handy for cramped settlements like Hangman’s Alley or Outpost Zimonja.
Tip: for your towering skyscrapers of garbage, build a few temporary Shack Stairs to get you in position to place your walls and such on the outside, as high up as you need. You’ll want to do this in order to place Power Conduits to power your shacks.
Some shack niceties include details like Shack Steps under Structures > Wood > Stairs, which snap into place next to a Doorway so you don’t have to jump to get into your own house if the ground’s a little bumpy, or if you’re building on really uneven ground, the use of any of the Shack Foundations in Structures > Wood > Floors to make it easier to place your floor squares.
There are also Railing pieces available (under Structures > Wood > Miscellaneous) that will snap next to floors, Walls and Wall and Roof pieces for all your picturesque balcony needs. (Note that they don’t snap into place if you’ve already placed your roof pieces.)
Fallout 4 Settlement Guide: Resources
So you’ve built some nice skyscraping shacks for your settlers to call home, but the ungrateful bastards need food and water too. Each settler needs one food and water resource each. Fortunately, keeping your denizens nourished is a bit easier than designing and constructing the roof over their heads.
When it comes to food, there’s only one word you need to know: Mutfruit. Early in the game it’s wise to go heavy on Mutfruit because it produces 1 whole food resource per plant. Everything else only provides .5. Now we haven’t been able to confirm that food variety is a factor in Settler happiness (see more on happiness below). However, you’re also going to want to plant corn and tato plants too. Why?
Because adhesives.
As your progress in Fallout 4 you’ll realize the adhesives are super important (Todd Howard told us so in this exclusive interview) and it’s easy to miss the best source of adhesives in the game: your vegetable garden. Every cooking station allows you to make a vegetable starch adhesive out of corn, mutfruit, tatos and purified water. So adding those crops to your settlements means you can manufacture adhesive when you need it and, trust us, you will need it.
Water is a much more manageable commodity. The basic water pump requires concrete, steel and gears to build. Steel is easiest to come by, and concrete can usually be found scrapping cinderblocks scattered around the homesteads. Gears, not so much. One of the best early sources for gears are desk fans, so snatch those up in your travels. And, until you unlock the Local Leader perk (which requires 6 charisma to access) you can’t set up supply lines between settlements to share resources. So make sure you have a few desk fans (or other gear-laden junk) available before you start in on your resource management projects.
The more advanced water resources are electrically powered pumps that require a standing water source on the settlement. Not all the settlements have a pool of water available either. I’d also recommend going with the industrial size instead of standard size. It costs a bit more in resources, and uses screws which the smaller version doesn't require, but the output is 40 units of clean water compared to 10.
Both require generators to power them too, so if you’re going to make the big investment in industrial water purification you might as well go all in and never have to worry about water at your settlements again. Plus the extra purified water is stored in the workshop inventory and can be sold or carried in your travels.
Fallout 4 Settlement Guide: Happiness
A fed and watered settler is a happy settler. But there’s more to Settler happiness than full bellies. They need flair in their lives, too. A dingy shack is just depressing, so spruce up those walls with paintings in the Decorations > Wall Decorations section. Paintings only require wood which is the most abundant construction resource in the game. So go nuts and put a painting on just about every surface you can.
Also, before you go nuts decorating, make sure you’ve taken care of beds, food, water and defense first. There’s nothing worse than designing a gorgeous shack only to realize you used all the cloth making carpets and now there’s nothing left for beds. Remember to place rugs first, before placing tables, chairs, or beds on top of them. When you move the rugs again, you’ll move everything on top of the rugs with them.
Settlers also like furniture to relax on and electricity to make them feel safe. Wiring power can be a bit of a pain in Fallout 4. Smaller decorative elements, like lights and televisions, get their power wirelessly, but the proximity to a power source can be tough to judge if you’re running external pylons and wires.
Our trick is this: power conduits. You can find them in the Power > Connectors and Switches section. Put the power conduits on the corners and along the edge of your roof, link them to each other, and you’ll only need to link one to a Power Pylon to power the whole grid. This helps keep unsightly wires off the ground and provides enough proximity for all your internal electrical needs.
Make sure you design your power grid first, as many of the power elements require copper which is the chief component in stringing electrical wire. It really sucks to install a bunch of lights and TVs only to run out of the copper you need for wiring, and copper is a rare resource.
Bonus: many of the smaller electrical goodies don’t require a dedicated power resource, so a small generator won’t be overworked by lights and TVs. And radios don’t require power at all!
Fallout 4 Settlement Guide: Defense
Your Fallout 4 settlement is starting to look like the kind of place you would want to live. But the Wasteland is a harsh mistress and it won’t be long before bloatflies, super mutants and raiders come along looking to ruin everything. So you’re gonna need defense. And, early in the game you will be tempted to build a lot of fences.
Do not do this.
Sure, some fencing is useful, and building gates across any roads or paths that cross through your settlement is a fine idea. But we discovered that we wasted a lot of time, effort and resources on building impenetrable perimeter walls only to realize that fencing does not contribute to the defense rating of a settlement.
Instead, build a few guard posts with a little bit of fence on either side. Once the guard posts are placed you have to assign a settler to them. If the posts are close enough one settler will work two or three, so check to see that everything is manned before heading on your merry way. You’ll be able to tell because the Vault Boy outline will be green, not red, when you examine the resource in workshop mode.
Your absolute best friend in defense is going to be machine gun turrets. Each turret requires the following: 8 steel, 1 circuitry, 2 gears and 2 oil. Again, unless you have supply lines set up you’re gonna want that recipe x4 for each settlement layout. This way you can put a turret on/facing every corner. If you’ve got a centrally located shack place them on the corner of the roof. Placing them up high gives them a greater range, plus keeping them off the ground means that melee attackers can’t smash them.
Periodically check them to see if they need repairs as well. If they’re taking care of business while you’re not around and get damaged it’ll be cheaper to repair them than build a new one that goes kablooey because of your negligence.
You will eventually start to unlock more sophisticated turrets in Fallout 4 if you invest in science and gun nut perks, but early on these basic machine gun turrets will keep your settlers safe and add 5 points to your defense rating.
Also, if you have the opportunity to buy a dog, do it. You may have to reassure the nervous seller many times that you’ll treat this dog right, but the Junkyard Dog adds 5 defense points to any settlement.
Fallout 4 Settlement Guide: Settler Management
Keeping track of settlers is a tough job. There’s no UI that will conveniently inform you of which settlers are assigned to what task, and all the settlers are generically named Settler, so as new settlers trickle into town it’s hard to figure out who’s assigned at all, let alone to what task.
The only task that marks a settler under a different name is running a supply line from one workshop to another, which requires the first rank of the Local Leader perk in the Charisma tree. This marks them a Provisioner, though if you have many Provisioners you won’t know to which settlement they’re headed.
One helpful tip to keep track of which settlers are assigned to a task: ask to talk to them, put a hat in their inventory, and equip it on them. Now you know that any settlers with an uncovered head have yet to be assigned! You could go more into detail if you want - settlers with fedoras are farmers, settlers with sack hoods are on guard duty, etc - but that’s up to you.
Settlers also use the guns you give them. So all that raider armor that piles up after quests and those stacks of pipe rifles that aren’t worth carrying around make for great gear for Settlers on guard duty. With the built-in crafting mechanic you can take the time to outfit your guards with really great gear which will come in handy during those super mutant raids.
Some settlements have special dangers: for example, the Starlight Diner has a pool of radioactive waste in the middle of it that settlers will wander into if it’s not fenced off.
Otherwise, if you reassign a settler, watch your resources carefully- that will tell you what they were assigned to. If defense or food dwindles, they were assigned to a guard post or farming. Make sure you replace them if your resources dip low.
Finally, once you have the second rank of the Local Leader perk in the Charisma tree, you can create stores which will increase your town’s happiness and income based on population. And it’s very convenient to have your own doctor in town!
Fallout 4 Settlement Guide: Locations
As far as the settlements themselves go, Fallout 4 real estate follows the same rules as IRL property: location, location, location. With many locations to choose from for founding settlements these are the ones you need, the ones you want and the ones you should avoid.
These are the settlements that you will have to have at some point in the story:
Sanctuary Hills: Your first settlement and one of the biggest and best. Plenty of things to scrap and lots of space, with a source of plentiful fresh water and an easily defensible bridge.
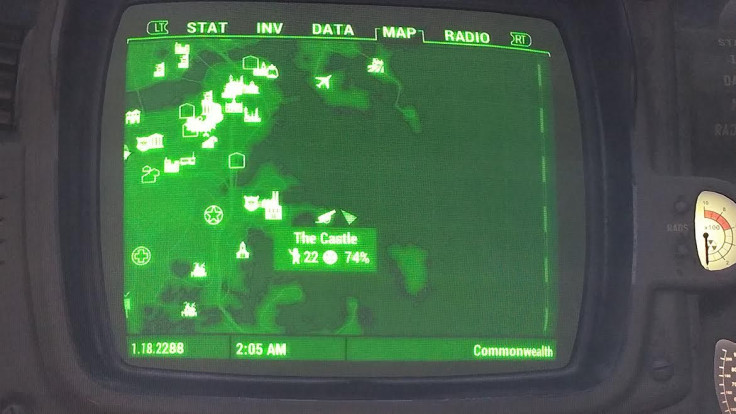
The Castle: This enormous settlement comes with all your power lines already in place, a huge generator in the ocean that provides 40 water off the bat, and even a spare missile launcher. It’s so big, it’s a little overwhelming, but that’s why God Howard gave us stores. Turn the fort into a Super Duper Mart of your own!
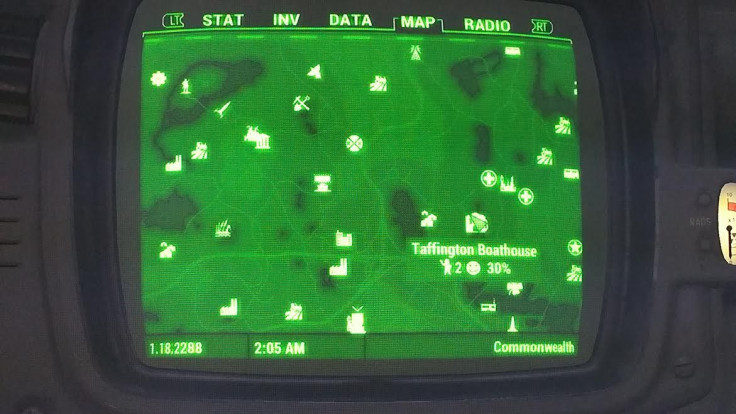
Taffington Boathouse: It’s a nice two-story farmhouse on the water. It becomes important in the later parts of the story because you need to build some special equipment there, but in the meantime it makes for a strong settlement that is easy to defend because much of the border sits on a radioactive lake. There’s even a fenced in area for crops, too.
These settlements are the ones you want to have:
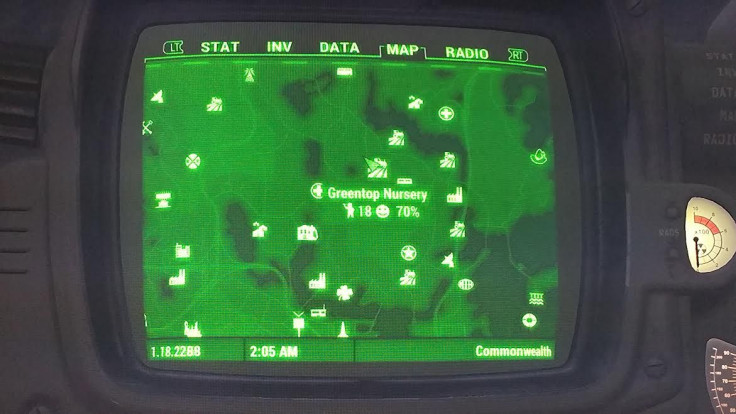
Greentop Nursery: This location will provide a TON of food for your settlements. Unfortunately, the supply line food sharing is a bit off right now, and gathered food doesn’t always show up in the resource bar of a linked settlement. However, the harvested crops will be available for you to replant at any number of locales, and this greenhouse comes pretty stocked with mutfruit to being with.
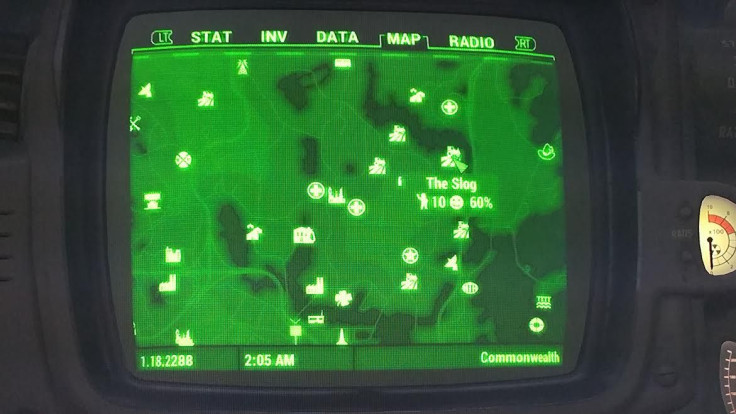
The Slog: The only tarberry farm in the Commonwealth, The Slog comes with nice ghoul-liberation backstory and a sturdy concrete ranch house. Tarberries are grown in an old swimming pool, so a water purification machine works wonders here. Plenty of existing fencing adds natural security and a few perimeter machine gun turrets will do an admirable job of chasing away the crazies.

Abernathy Farm: Another location with good starter real estate, the farmhouse at this Settlement isn't the biggest selling point. That would be its proximity to Sanctuary. Until you get the supply line perk it's helpful to keep your settlement territories close to each other so you can easily walk between them. Like the Greenhouse, this farm is capable of producing an awful lot of food and the flat layout makes it easy to set up perimeter defenses.
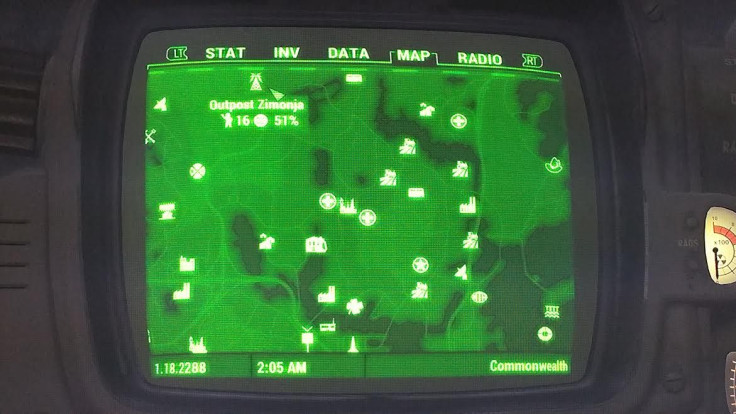
Outpost Zimonja or Hangman’s Alley: You should keep at least one tiny, compact settlement in your back pocket for the sole purpose of sending your spare companions to so that you don’t waste days trying to track them down in the more spacious settlements. (Tip: Dogmeat will hang out in a doghouse if one’s available.) These tiny settlements also have very narrow and easily defensible chokepoints.
These settlements are kind of useless and dumb so don’t bother:

Starlight Drive-In: A great place to scrap steel, but the presence of a radioactive pond often spells disaster for your dimwitted AI. Plus it sits adjacent to two different roads which means it gets attacked more than most locations. There not much dirt for crops and the ample amount of paved space isn’t useful because of the radiation emanating from the pond.
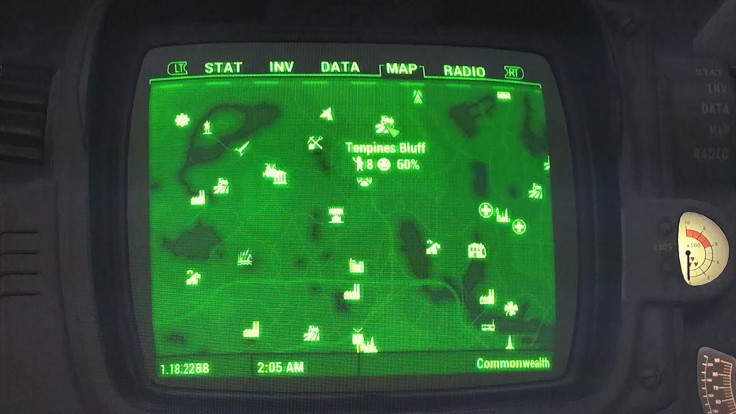
Tenpines Farm: One of the earliest settlements you get offered but also one of the most cumbersome to manage. It’s a hilly, uneven layout so laying floors is a big pain, and the hilly terrain makes it hard for your machine gun turrets to get good sightlines on approaching enemies.
Any more tips and tricks to wrangle Fallout 4’s settlements? Feel free to discuss your budding career as a benevolent slumlord with your other burgeoning post-apocalyptic real estate tycoons in the comments section below.


