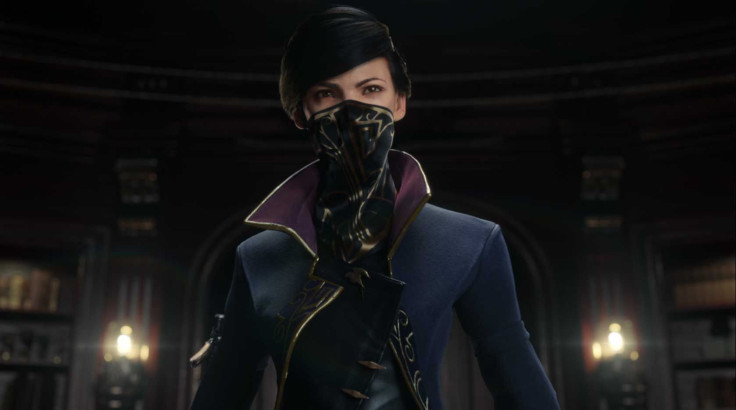
Dishonored 2 features multiple huge safes, holding all sorts of collectibles and riches. As it turns out, safes are usually locked, so you’ll need to find the combination to access them all. Thankfully, we know where all the combinations are hidden, so you don’t have to look as hard.
Unlike in the first Dishonored, safe combinations aren’t always the same across every game. We’ve noted what some combinations that seem permanent may be, but you’ll probably want to hunt down the combinations for every one, just to be sure.
A Long Day In Dunwall
There is one safe in the first chapter, which can be found in Dr. Galvani’s lab. To get to the lab, you’ll need to leave Dunwall Tower and enter the streets. The lab will be the building right next to you once you exit the tower. Get inside and find a painting on the wall you can remove. On the back is the safe combination. Find the safe nearby and crack it open. The code should be 451.
Edge of the World
There are two safes in the second chapter of Dishonored 2, and it can be found in Karnacka Docks. To find the safe, you’ll have to sneak into the Overseer Outpost, a large red building accessible by going through the Bloatfly-infested house.
The safe is on the third floor of the building, and there are plenty of guards to kill/sneak past/whatever you choose to do. You can figure out the combination by reading the book next to the safe, then reading a note on the table by the refined whale oil bottle. Piecing the clues together, it’s revealed the combination is 137, but could be different for you.
The second safe is in the Winslow Safe Company’s office, which is by the train tracks and carriage station. Find the combination by looking in the cash register by the front door of the Safe Company.
The Good Doctor
There are two safes in this level, which can be a bit tricky to find. If you enter through the main doors, take a quick left to find an office with a guard typing at a typewriter. Take him out, and look up along the wall to see some pipes sticking out. Long Reach/Blink up, and cross the room over the Wall of Light. You can shut down the Wall once you cross the room by taking the Whale Oil container out of the wall.
Continue down this path until you get to a room with two safes and a brutally murdered guard. One safe can be opened no problem, but the other needs a combination. Look on the desk by the door to the room to find a document with the safe combination on it.
Head back out and go past the Wall of Light to get to a staircase. On the second floor, you’ll find a safe, but no combination. Once you talk to the patient Vasco, he’ll tell you the combination to unlock it.
The Clockwork Mansion
A safe can be found on the second floor of the civilian apartments before going up to the mansion itself. Once you find the safe, go out into the hallway of the apartment to find a chalkboard. The safe combination is on the chalkboard, but you might have to move some items out of the way to see the whole thing.
The Royal Conservatory
There is a large building infested with Bloodflies and a Nestkeeper. Clear out all enemies in this building and you’ll find a big, round safe. The combination for this safe can be bought at the nearby black market, or it can be stolen if you want to not pay for it.
Dust District
There doesn’t seem to be any safes on this level.
A Crack In The Slab
When exploring the mansion, you’ll find a boiler room with a safe in it. To get this combination, you’ll need to use the fancy timepiece. First, while in the past, take the body of a dead wolfhound and put it in the furnace. Once the body has fully been cremated, jump to the present and look at the safe. The correct combination will already be entered in. Jump back in time again, and put the combination in the safe to open it up.
The Grand Palace
There are two safes on this level, and the first is hiding on the third floor of an apartment building before you get to the palace. If you’re using the heart to track Bonecharms, the safe is in an apartment with a Bonecharm hidden under a pillow on a bed. Anyway, once you find the safe, look on a nearby desk for a picture. In the photo, there’s a man standing next to the safe, with the combination seen in the picture. The safe combo should be 123.
Once you get in the palace, you’ll find the second safe in the First Captain’s suite. The combination for the safe is in the Duke’s suite on the third floor. Look for a room that has a Clockwork Soldier and a maid in it. You’ll need to explore the Duke’s room to get the code to bring back to the safe downstairs.
Death To The Empress
There doesn’t seem to be any safes on this level
So what do you think? Will you go gather the contents of every safe in Dishonored 2 now that you know where to look? What else are you needing help with in Dishonored 2? Let us know your thoughts in the comments section below.


