On Thursday, Heise Security reported a new form of ransomware called Petya that locks users’ computer screens while encrypting their files. While ransomware infections in general are on the rise, the Petya ransomware uses two interesting tactics not previously used by ransomware attackers.
Ransomware attacks usually occur after a victim has clicked on a poisoned link inside of an email or on a website. But more recently, ransomware attackers have been changing their methods to fool more victims. Last month a Locky ransomware outbreak occurred after victims opened what looked like a legitimate Word Document attachment. Petya ransomware utilizes a similar method. The attacker poses as a job applicant, sending a polished email to the victim with a Dropbox link. The attacker states the link is to a resume but that the file is too large to send via email. This type of social engineering can catch even cautious users off-guard and allow the infection to begin.
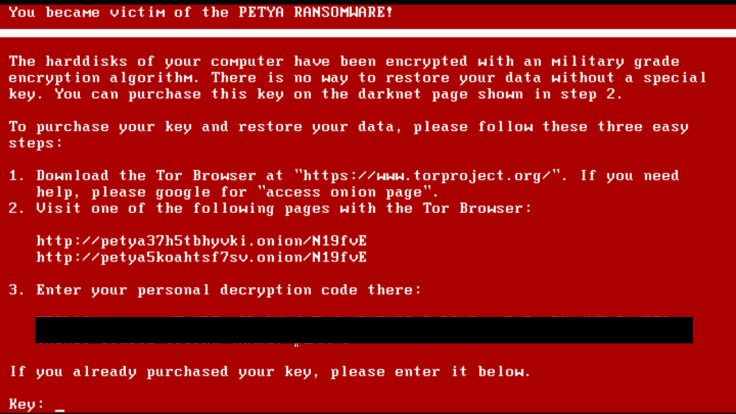
But Dropbox links aren’t the only thing that set Petya ransomware apart. The way the ransomware is implemented is also different. It begins by overwriting the boot files required to load Windows. The computer then becomes locked with a red boot screen that won’t allow you to log on unless you pay the ransom. Meanwhile, it goes about encrypting your files. While this tactic may make Petya a more frightening form of ransomware for some, it may actually be less effective than traditional ransomware that silently encrypts your files before finally sending you a message that your computer has been infected. Since Petya makes itself obvious early on, you can stop it in its tracks by unplugging or shutting down your computer immediately.
If your computer has been infected by Petya ransomware, there are steps you can take to unlock, stop and remove the ransomware. We’ve placed those steps in a tutorial below. Keep in mind, however, any files already encrypted will not be recoverable unless you have a backup made.
While Petya infections have thus far been isolated to Germany, this could easily be a test run for the malware with more widespread infections on the way. As such, it is important to observe good information security practices to prevent such infections.
How To Unlock Computer, Remove Petya Ransomware And Decrypt Files
Step #1 - Unlock Infected Computer
- Shut down the infected computer. While you are preparing to remove the ransomware, you can stop it from encrypting any more files.
- Repair the Master Boot Records on your computer – directions for doing so can be found here . Repairing the Master boot record will remove the lock on your computer and allow you to remove the ransomware.
Step #2: Remove Petya Ransomware
- Restart Computer and Show Hidden Files – Petya hides itself so you need to see all hidden files. You can get them to show up by following the instructions, here.
- Search for Additional IP Addresses - go to your search bar and type in the following:
%windir%/system32/Drivers/etc/hosts
- A window will open and you will see a section with the local host. If more IP addresses than just your local host are present, you’ve been infected.
- Search And Remove Petya Startup Processes – go back to the search bar, type msconfig and hit enter.
- A window will open. Go to the Startup tab
- Uncheck any entries that have “Unknown” as the manufacturer.
- Remove Other Petya Processes – You will need to open Windows Task Manager and search for any files listed here.
Step #3: Decrypt Petya Encrypted Files
This is a brand new type of ransomware infection so there are no tools updated to remove the ransomware or decrypt the files. You can do so manually though, if you have a backup, by doing a full System Restore .