Call Of Duty: WWII Nazi Zombies just got a brand-new chapter called The Darkest Shore, and we want to guide you through it. This walkthrough will cover every step to unlocking the map’s Easter egg. We recommend that you turn on the power, unlock Pack-A-Punch and have the upgraded Ripsaw first. Accomplishing those tasks should give you a solid understanding of the map’s layout.
As a general rule of thumb, abilities like Shellshock and Camouflage will also be helpful for squad members.
OPENING THE CORPSE GATE AND ESCORTING THE BOMBER
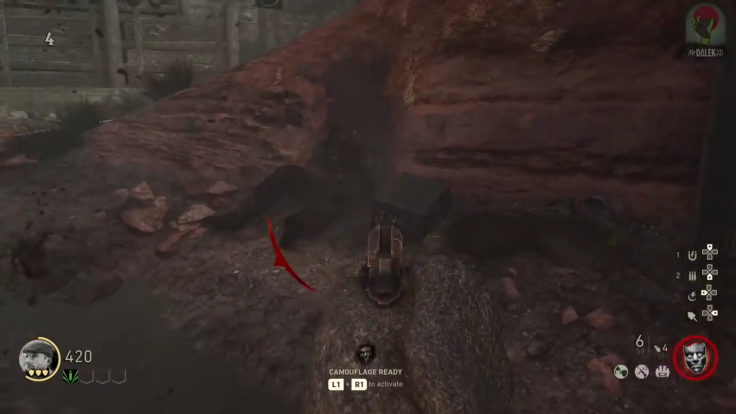
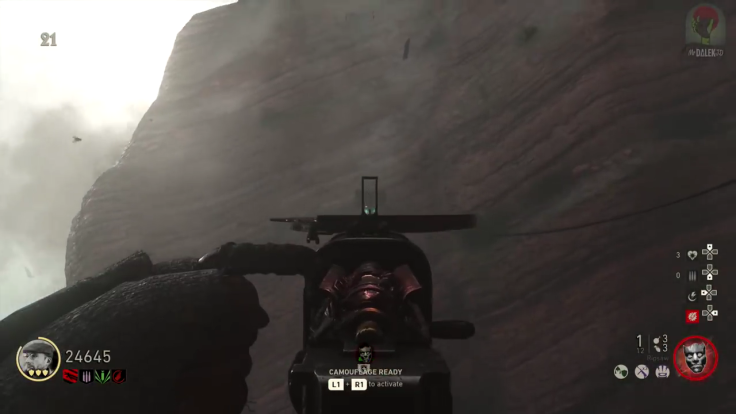
To start, go to the cliffs near Pack-A-Punch and use the Ripsaw to shoot the head off the hanging body pictured below.
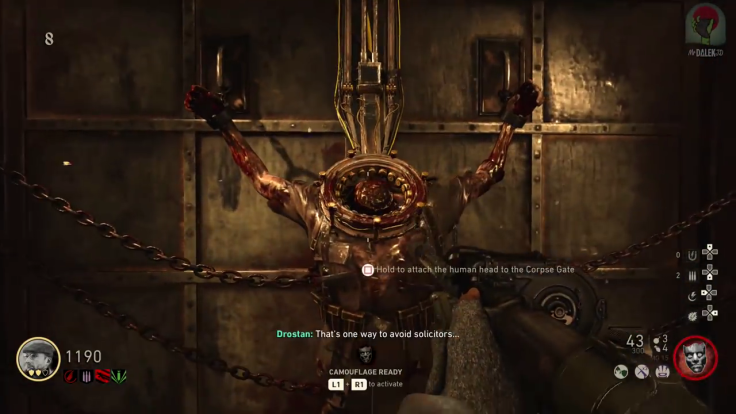
Once you have it, go to the U-Boat Pens and place the head on the Corpse Door. In order to open it, you’ll need Zombie kills to charge it. Get about 10 of these, and make sure you have some solid weapons before moving forward. You’ll know you’ve gotten enough kills when Straub starts talking. Fire will start coming up from the floor, and you need to stop it by turning valves at three locations.
- One valve is at the back by the stairs.
- Another valve is near the minecart entrance.
- A third is to the right of the door.
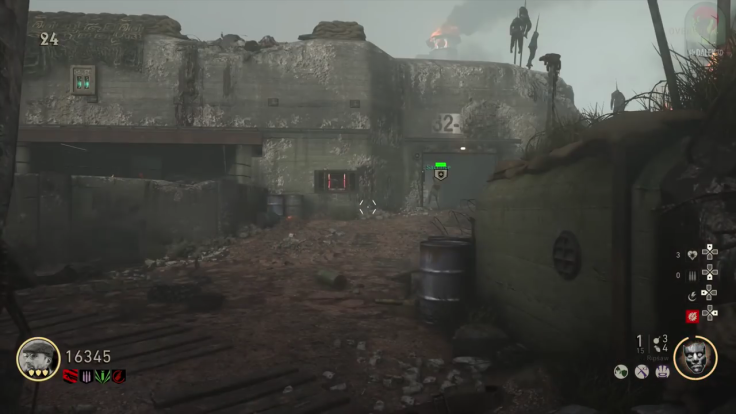
Turning all three valves opens up the Corpse Gate. Watch out for the Brenner zombie that spawns as soon as you open the door. After that foe goes down, planes will swarm over the island. Move quickly to the Flak Guns around the Artillery Bunker to shoot down the planes. Just watch the health bar and listen to character dialogue that tells you where to line up your shot.
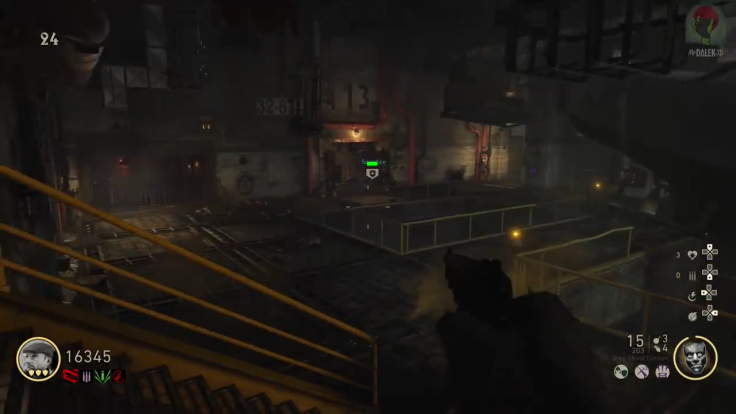
After the plane objective has finished, go back to the Corpse Gate and enter a new area called the Freezer. A terminal in that area will summon a friendly Bomber zombie that you must escort to the artillery gun in the Bunker. Make sure the Bomber doesn’t get hurt by other zombies, because it has a health meter. At the gun, the Bomber will place an item that charges a cannon we’ll be using later. Kill the zombies in the area to get that over with now.
SETUP FOR THE THREE SONS
Your next objective is to assemble a radio. The first part, pictured below, is on a body near the Laufenblitz perk. The second piece is on a corpse above Schildblitz (near Pack-A-Punch) that can be shot with the Ripsaw. Take the parts to the table just outside the Artillery Bunker.
The next step features Destroyers. This is where that Battery you charged in the previous section comes in handy. Go back there and start shooting the ships. There’s a map nearby to help you aim, but character dialogue is insightful too. You only have eight shots to get it right or you’ll have to start over.
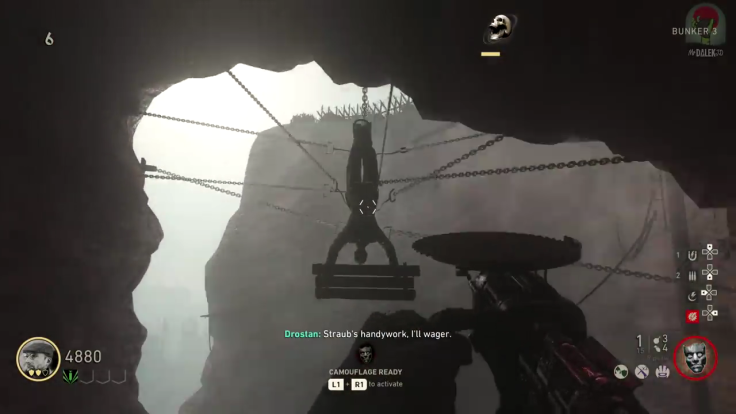
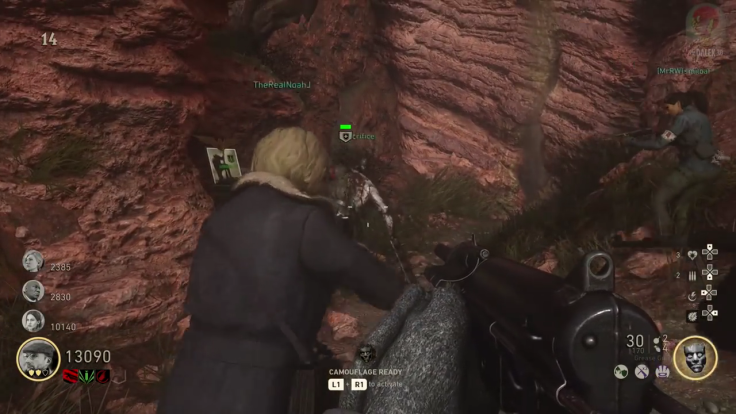
Next you’ll want to enter the minecart and take the path from the Beach toward the top of the map or vice versa. Along the way you’ll come to the spot shown below. When here you must ram into a Bomber to unlock the passageway to the Ancient Room. You can try this as many times as you like, but you’ll be able to interact and enter the room once you ride again and pass by.
On the ground and to the right of the door is the Monk’s Head. Pick it up. At the other end of the room is an exit that brings you back to the spawn. Take the Monk’s Head to the terminal we activated inside the Corpse Gate. If done right, the Monk will start talking about a riddle involving the three sons.
THE THREE SONS
Using the Flak Gun at the Artillery Bunker, shoot the boulder ahead. That’s the location of the First Son, and it can be picked up at spawn. Once you have it, place the son in the locked door of the Ancient Room.
We’re going to do the Third Son next, and it can be a bit of a pain. It involves using the Ripsaw to shoot weird patches of rocks around the cliff areas of the map. Thanks to YouTube’s MrRoflWaffles, we know each place where those rocks might be:
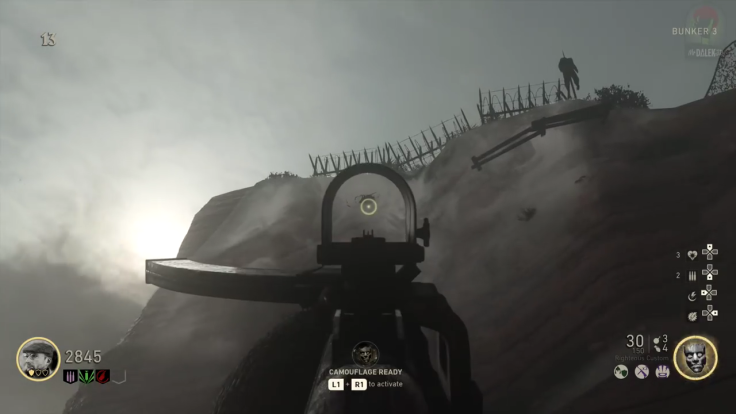
- Above Pack-A-Punch on a cliff face
- In the mist above the Bunker 3 entrance
- To the right of the Bunker 3 entrance on the adjacent wall
- On the other side of the Bunker 3 cliff by some plane wreckage
- To the left of the wreckage on the adjacent wall
- Further along the wreckage cliff near some wooden planks
- Even further down the wall by some more planks
- By the flack guns near the stamina and double-tap perks
The rocks will be in a random assortment of three of these potential locations, and you must shoot them. Once the third is down, the Third Son will drop and you can place it in the Ancient Room.
The Second Son is pretty simple. All you have to do is kill a zombie using the Ripsaw’s Heavy Melee attack (sprint and melee button), until you get one with a red charged spine. Quickly take the spine to the Monk’s Head in the Freezer room by a bucket in the corner. A friendly zombie will emerge from the Freezer and go all the way to spawn. Kill zombies around it when it enters the water, and it will come back with the Second Son. Like the others, place it in the Ancient Room.
This next batch of steps involves puzzles harvesting a Pest, Wustling and Meuchler in any order. We’re starting with the Pest.
PEST HARVEST PUZZLE
The first step is to harvest a yellow spine from a Pest. Do this and bring it to the bucket in time. This spawns a friendly blind Pest. The goal is to use the Ripsaw to ricochet saw blades off the colored fuses that match the color of the Pest. If you can’t find a fuse, you may need to expose it with a grenade.
For the first round, the zombie should stand in the spot shown below while you shoot the teal-colored fuse in the back of the room by the submarines.
Next you’ll want the Pest to stand here, just below the staircase. You’ll need to shoot the yellow fuses in the hallway where you got the Ripsaw.

That should move the Pest to a new location, and you must blow up this fuse box right outside where the zombie stops. Once that’s done, shoot the teal fuses shown here as the Zombie approaches the doorway.
Move forward to the Artillery Bunker to expose more fuses: one above the mystery box location, one on the wall by the stairs and another near the Flak Cannon. Shown below, you must get the Pest in this doorway, back yourself up to the Flak Cannon and shoot the fuse in the corner.
Last but not least, the Pest will go back to the Pens and you need it to be in the spot pictured below. Back yourself near the saw blade bench and shoot the yellow fuse.
The final step is to go to the Ancient Room and kill the herd of Pests that spawns. Kill the one with the purple charge, take its head and place it on a hook in the adjacent room. After this, there will be one more battle with tons of Pests. Shellshock can be helpful here.
WUSTLING & MEUCHLER HARVEST PUZZLES
The next step is to harvest a Wustling spine and take it back to the Monk Head. Once you do, a friendly one will spawn. Train stray zombies away from it and stay close to make it move. If it ever gets off track, shooting it resets its path to move it where it needs to be. The basic premise of the puzzle is to bring it to the following perk machines in this exact order: Kugelblitz, Faustblitz, Laufenblitz and Lebenblitz. If it’s lured to other machines, shoot it to get its attention. If you’ve done it right, the zombie will jump through a hole in the wall.
Just like last time, go to the Ancient Room and kill the Wustling with the charge on its head to get its skull. Place the skull on a hook and fight again.
The Meuchler puzzle is best attempted during a fog round, as you’re most likely to find one. They also spawn in the Ancient Room too. Harvest one, and take it to the Monk as usual. A friendly Meuchler will rise, huddled in a ball somewhere on the map. Follow its cries to find and melee it. This happens twice. On the third round, the Meuchler disappears.
Once more, go to the Ancient Room, kill the charged Meuchler, place its head on a hook and fight.
BARBAROSSA’S POMMEL & BOSS FIGHT
With all the zombie puzzles finished, get the Monk Head from the Freezer and place it on the final hook. This starts another zombie fight. Keep blasting them away till the pool of blood fills in the center of the room. After the fight you can grab Barbarossa’s Pommel from the hand of the nearby statue. It’s really great for dealing with Meuchlers. Once your team is ready, throw the Pommel at the radio to trigger the final boss fight.
There isn’t too much strategy we can offer here, as the fight simply revolves around killing tons of zombies. The battle starts on the beach but progresses to the U-Boat Pens, Bunkers and beach again. When you get to the Bunkers, be sure to buy armor and perks for the final fight ahead. Once it’s done, the fog will lift, the cutscene will trigger and you’ll get the trophy.
That’s all there is to it! May we offer a special thanks to YouTube’s MrDalekJD for his great video guide that helped us a lot. In case you need a video, we’ve embedded it above.
What do, you think of The Darkest Shore now that you’re done? Were you able to get the Easter egg using this walkthrough? Tell us in the comments section!
- Action-packed campaign
- Traditional multiplayer at its best
- A more welcoming Zombies mode
- Predictable story
- Small multiplayer maps
- Post-launch server issues